Assistive Devices Program (ADP) Application Form: A Comprehensive Guide
Navigating the ADP application requires understanding eligibility, required documentation, and the process for securing funding for essential assistive devices in Ontario.
Understanding the ADP Program
The Assistive Devices Program (ADP) is a crucial financial assistance initiative designed to support Ontario residents with long-term physical disabilities. It aims to alleviate the financial burden associated with obtaining essential assistive devices, promoting independence and improved quality of life.
This program recognizes that many individuals require specialized equipment – like mobility aids or hearing devices – to participate fully in daily activities. Eligibility hinges on factors like Ontario residency, valid OHIP coverage, and a demonstrated medical necessity for the device lasting six months or longer.
The ADP doesn’t cover the full cost; typically, applicants contribute 25% of the device’s price. Understanding these core principles is vital before beginning the application process.
What is the Assistive Devices Program?
The Assistive Devices Program (ADP) is a provincial government initiative in Ontario, providing financial assistance to eligible residents for the purchase of approved assistive devices. It’s designed to help individuals with long-term physical disabilities afford equipment that enhances their independence and participation in everyday life.
The program operates on a cost-sharing basis, meaning applicants contribute a portion of the device’s cost – generally 25% – while the ADP covers the remainder. Funding is not automatic; it requires a thorough application process demonstrating medical necessity and adherence to specific eligibility criteria.
ADP supports a range of devices, aiming to improve accessibility and quality of life for Ontarians with disabilities.
Eligibility Criteria: Core Requirements
To qualify for the Assistive Devices Program (ADP), several core requirements must be met. Primarily, applicants must be residents of Ontario with a valid Ontario Health Card, demonstrating coverage under the Ontario Health Insurance Plan (OHIP). A documented physical disability is essential, requiring the assistive device for a minimum of six months.
The disability must necessitate the device to improve functional ability and independence. Individuals already receiving full funding from the Workplace Safety and Insurance Board (WSIB) for the same device are generally ineligible. Meeting these criteria initiates the application process, requiring supporting documentation.
Ontario Residency and OHIP Coverage

Establishing Ontario residency and valid OHIP coverage are foundational eligibility requirements for the ADP. Applicants must demonstrate they are legal residents of Ontario and possess a current, valid Ontario Health Card. This card confirms enrollment in the provincial health insurance plan, enabling access to ADP funding.
Proof of residency, such as a driver’s license or utility bill, may be required during the application process. Without valid OHIP coverage, an individual is ineligible, regardless of other qualifying factors. This ensures the program serves Ontario residents needing assistive devices.
Physical Disability Requirement
A core criterion for ADP eligibility is the presence of a physical disability. This disability must necessitate the use of an assistive device to improve functional ability and quality of life. The ADP defines a physical disability as a limitation in a person’s ability to perform activities of daily living due to impairment.
Medical documentation from a healthcare professional is crucial to substantiate this requirement. The assessment must clearly outline the nature of the disability, its impact on daily functioning, and the medical necessity for the requested assistive device.
Duration of Need (6 Months or Longer)
The Assistive Devices Program requires applicants to demonstrate a long-term need for the requested equipment. Specifically, the need must be expected to last for a minimum of six months. This isn’t a temporary or short-term requirement; the ADP funds devices for sustained assistance.
Healthcare professionals must clearly state the anticipated duration of need within the medical assessment. Documentation should explain why the disability is expected to persist for at least six months, justifying the investment in an assistive device.
Funded Equipment Categories
The Assistive Devices Program covers a range of equipment to support individuals with physical disabilities. Primarily, the program focuses on mobility aids like wheelchairs, walkers, and scooters. Additionally, funding is available for respiratory equipment, such as oxygen concentrators and ventilators.

Hearing aids are a significant category, alongside visual aids like specialized magnifiers. Certain hospital beds and bathroom safety devices also qualify. However, coverage isn’t universal; specific devices and features may have limitations. Applicants should verify eligibility for their specific needs before applying.

The Application Process: Step-by-Step
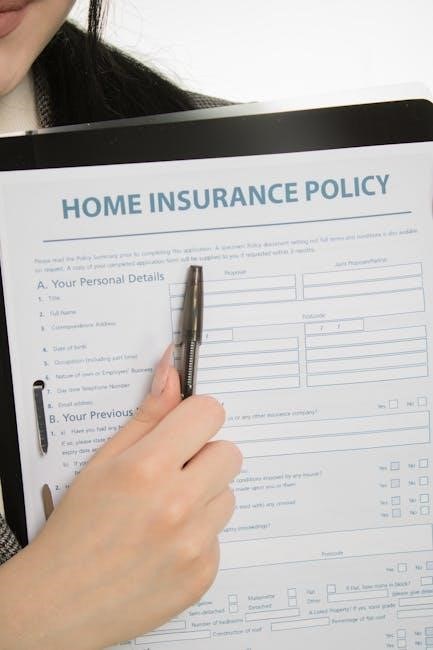
Initiating an ADP application begins with obtaining the official form, available online or through healthcare professionals. Carefully complete all sections, providing accurate and detailed information regarding your disability and equipment needs. Gather all required documentation, including medical assessments and proof of residency.
Submit the completed form and supporting documents to the designated ADP address. Expect a processing period; timelines vary. Applicants may receive requests for additional information. Regularly check application status online if available. Following review, a decision notice will be issued, outlining approval or denial.
Obtaining the Application Form
Securing the Assistive Devices Program (ADP) application form is the crucial first step in the process. The form is readily accessible through multiple convenient channels. Applicants can download it directly from the official ADP website, ensuring they have the most current version.
Alternatively, healthcare professionals, such as doctors or therapists, often have copies available for their patients. Contacting the ADP directly via phone or email will also result in a form being provided. Ensure the downloaded or received form is complete and legible before beginning the application process.
Completing the Application Form Sections
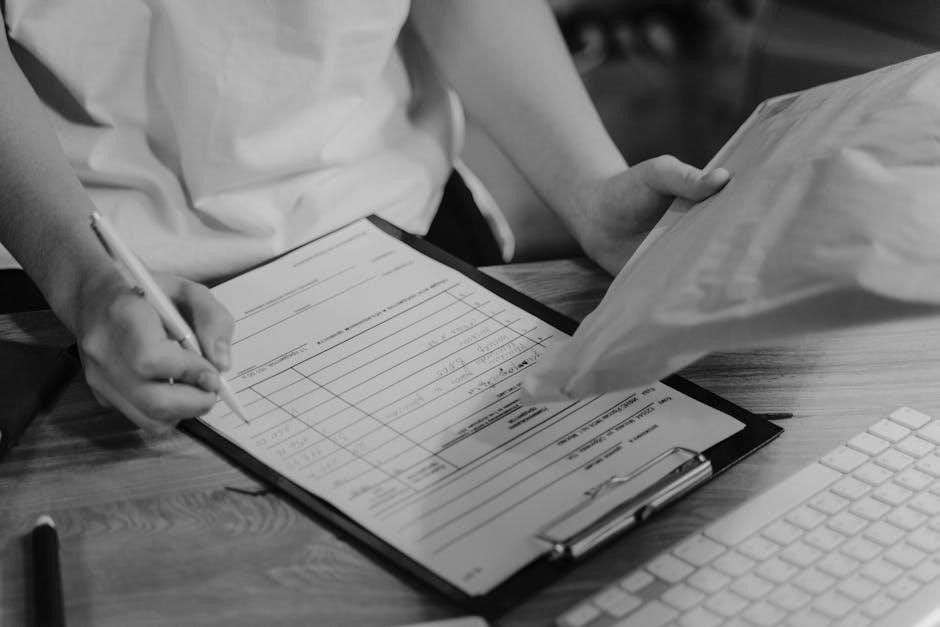
Meticulously completing each section of the ADP application form is paramount for a smooth review process. Begin with personal information, ensuring accuracy in name, address, and OHIP details. The medical section demands detailed descriptions of the disability and its impact on daily living.
Healthcare professional input is vital here. Clearly outline the required device and its necessity. Financial details, while seemingly straightforward, must be precise. Double-check all entries before submission to avoid delays. Legibility and completeness are key; incomplete forms will be returned.
Required Documentation
Submitting a complete documentation package is crucial for ADP application success. Essential items include comprehensive medical documentation, specifically assessment forms completed by your healthcare professional detailing the necessity of the assistive device. Proof of Ontario residency, such as a utility bill or lease agreement, is mandatory.
A clear, legible copy of your valid Ontario Health Card is also required. Ensure all documents are current and accurately reflect your situation. Missing or incomplete documentation will inevitably cause processing delays, potentially leading to application rejection. Organize documents logically for efficient review.
Medical Documentation & Assessment Forms
Detailed medical documentation forms the cornerstone of your ADP application. These forms, completed by your physician or qualified healthcare professional, must clearly articulate the nature of your disability and the specific assistive device required. The assessment should demonstrate a long-term need – six months or more – for the device to improve functional ability.
Forms must outline how the device addresses limitations caused by your disability and why it’s medically necessary. Generic assessments are often insufficient; specificity is key. Ensure the healthcare provider understands the ADP requirements and completes all sections thoroughly.
Proof of Ontario Residency
Establishing Ontario residency is a fundamental requirement for ADP eligibility. Acceptable documentation includes a recent utility bill (hydro, gas, water), property tax assessment, or a lease agreement displaying your name and current Ontario address. A driver’s license, while helpful, isn’t always sufficient as sole proof.
The address on your residency proof must match the address listed on your Ontario Health Card. If you’ve recently moved, ensure your address is updated with ServiceOntario before submitting your application. Providing clear and valid proof of residency streamlines the application process and avoids potential delays.
Valid Ontario Health Card Copy
A current, valid Ontario Health Card is essential for ADP application approval. You must submit a clear photocopy of both the front and back of your card. Ensure all information is legible, including your version code and expiry date. Digital images of your health card are generally acceptable, provided they are high-resolution and easily readable.
The name and address on your health card should align with your proof of Ontario residency. Any discrepancies may necessitate further verification and potentially delay processing. If your health card is lost or expired, obtain a replacement before submitting your application to avoid complications.
Healthcare Professional Involvement
A healthcare professional’s assessment is crucial for ADP approval. Your physician or qualified practitioner must complete the necessary assessment forms, detailing your medical condition and the necessity of the requested assistive device. This documentation substantiates the long-term need and justifies the funding request;
The healthcare professional’s report should clearly articulate how the device will improve your functional abilities and quality of life. Direct involvement from a specialist may be required for certain devices. Ensure your healthcare provider is familiar with the ADP requirements to streamline the application process and maximize your chances of approval.
Financial Aspects of the ADP
The ADP operates on a cost-sharing model, requiring a 25% co-payment from the applicant. This means you are responsible for covering one-quarter of the device’s total cost, while the program funds the remaining 75%. It’s vital to factor this co-payment into your financial planning before applying.
However, the ADP doesn’t cover all assistive devices. Certain items, or specific features within a device, may be ineligible for funding. Understanding these exclusions is crucial to avoid unexpected out-of-pocket expenses. Carefully review the ADP guidelines to determine what is, and isn’t, covered before proceeding with your application.
Cost Sharing: The 25% Co-Payment
The 25% co-payment represents the portion of the assistive device’s cost that the applicant is responsible for covering. This payment is made directly to the vendor at the time of purchase. The ADP then reimburses the vendor for the remaining 75% of the approved amount.
Applicants should plan for this expense, as it can be substantial depending on the device’s cost. It’s important to confirm the exact co-payment amount with the vendor before finalizing the purchase. The ADP does not offer loans or payment plans to assist with the co-payment; it is the applicant’s individual responsibility.
Devices Not Covered by ADP
While the ADP supports a wide range of assistive devices, certain items are specifically excluded from coverage. These exclusions are in place due to various factors, including the nature of the device or alternative funding sources.
Generally, devices considered standard equipment, like regular eyeglasses or standard wheelchairs, aren’t covered. Also, items primarily for comfort or convenience, rather than medical necessity, are typically ineligible. The ADP doesn’t fund repairs or modifications to existing devices, and cosmetic alterations are also excluded. Applicants should verify specific device eligibility before applying.
Who Does NOT Qualify for ADP?
Certain individuals are ineligible for ADP funding, based on existing financial support or other coverage arrangements. Those already receiving financial assistance from the Workplace Safety and Insurance Board (WSIB) for the same mobility aid are excluded, preventing duplicate funding.
Individuals with coverage through other government programs or private insurance that fully covers the device cost also don’t qualify. Furthermore, those not meeting the residency or OHIP requirements are ineligible. The ADP prioritizes support for those without alternative funding sources, ensuring equitable access to assistive devices for eligible Ontario residents.
Existing WSIB Funding
If an individual is currently receiving financial support from the Workplace Safety and Insurance Board (WSIB) for the same mobility aid, they will not be eligible for funding through the Assistive Devices Program (ADP). This rule prevents double-funding for the same equipment, ensuring responsible allocation of resources.
The ADP recognizes that WSIB provides comprehensive coverage for work-related injuries, including the cost of necessary assistive devices. Therefore, applicants already benefiting from WSIB support are directed to utilize those funds first. This policy streamlines the funding process and avoids unnecessary duplication of financial assistance.
Other Funding Sources & Conflicts
The ADP assesses potential conflicts with other funding sources. If an applicant is receiving, or is eligible to receive, financial assistance from another program for the same assistive device, ADP funding may be reduced or denied. This prevents overlapping benefits and maximizes program reach.

Applicants are required to disclose all other funding sources during the application process. The ADP aims to supplement, not duplicate, existing support. Conflicts are evaluated on a case-by-case basis, considering the amount and nature of the other funding. Transparency is crucial for a smooth application review.
Language Support and Accessibility
The Assistive Devices Program strives to be inclusive and accessible to all Ontarians. Application forms are available in multiple languages to accommodate diverse linguistic needs, ensuring equitable access to the program. Support is provided to individuals who require assistance completing the application due to language barriers.
Furthermore, the ADP is committed to accessibility for individuals with disabilities. Forms are designed to be compatible with assistive technologies, and alternative formats (e.g., large print, audio) are available upon request. The program actively works to remove barriers and promote inclusivity throughout the application process.
Application Form Submission Details
Completed ADP application forms, along with all required documentation, must be submitted to the designated ADP processing center. Currently, submissions are primarily accepted via mail; however, check the official ADP website for potential updates regarding electronic submission options.
Ensure all sections are fully completed and signed by both the applicant and the authorized healthcare professional. Retain a copy of the submitted application and supporting documents for your records. The mailing address is available on the application form and the ADP website. Proper submission ensures efficient processing and avoids delays in your application review.
Processing Time and Notification
ADP application processing times can vary, but generally, applicants can expect a decision within several months of submitting a complete application. Factors influencing processing time include the complexity of the case and the volume of applications received.
Applicants will be notified of the decision in writing, either approving or denying funding. Approval letters will detail the amount of funding approved and any applicable co-payment requirements. If additional information is needed, ADP will contact the applicant directly. Regularly check your mail and contact information remains current to avoid missed communications.
Appealing a Decision
If your ADP application is denied, you have the right to appeal the decision. The appeal process requires submitting a written request for reconsideration to the Assistive Devices Program within a specified timeframe – typically 90 days from the date of the denial notice.
Your appeal should clearly state the reasons for disagreement with the initial decision and include any new supporting documentation, such as updated medical assessments. The appeal will be reviewed by a different ADP adjudicator; Be prepared to provide a detailed explanation of why you believe you meet the eligibility criteria.
Resources and Contact Information

For comprehensive information and support regarding the Assistive Devices Program, several resources are readily available. The official ADP Website provides detailed program guidelines, application forms, and frequently asked questions. It’s a central hub for all ADP-related information.
Direct assistance can be obtained by contacting the ADP via phone or email. While specific contact details may vary, the website provides the most up-to-date information. Additionally, healthcare professionals involved in your assessment can offer guidance. Utilizing these resources ensures a smoother application experience.
ADP Website and Online Resources
The official Assistive Devices Program (ADP) website serves as the primary source for all program-related information and downloadable resources. It features detailed program guidelines, eligibility criteria, and a comprehensive list of funded devices. Applicants can directly access and download the necessary application forms and accompanying assessment forms.
Furthermore, the website provides a frequently asked questions (FAQ) section addressing common queries. Online resources include informative guides and explanatory materials to assist applicants throughout the process. Regularly checking the website ensures access to the most current updates and program changes.
ADP Contact Phone Number & Email
For direct assistance with the Assistive Devices Program (ADP) application process, applicants can reach out to the dedicated ADP contact center. The phone number for inquiries is readily available on the official ADP website, offering a direct line to program representatives.
Alternatively, applicants can submit questions or seek clarification via email. The official ADP email address is also published on the website, providing a convenient channel for communication. When contacting ADP, it’s helpful to have your application details readily available to facilitate efficient assistance.
Common Application Mistakes to Avoid
Submitting an incomplete application is a frequent error; ensure all sections are thoroughly addressed and all required documentation is attached. Failing to demonstrate long-term need – six months or more – is another common issue.
Insufficient medical documentation, lacking clear justification for the device’s necessity, often leads to delays or denials. Incorrectly reporting Ontario residency or OHIP coverage can also cause problems. Finally, overlooking the 25% co-payment requirement or failing to disclose other funding sources are easily avoidable mistakes that can hinder approval.
Understanding Medical Necessity for Approval
ADP funding hinges on demonstrating genuine medical necessity, meaning the assistive device is crucial for maintaining function and quality of life. Simply wanting a device isn’t enough; a healthcare professional must clearly articulate why it’s essential.
Approval requires proving the need extends for at least six months, showcasing a long-term disability. Detailed assessment forms, completed by qualified professionals, are vital. The application must convincingly illustrate how the device addresses functional limitations and improves independence, directly linking the device to the applicant’s specific medical condition.
Demonstrating Long-Term Need
The ADP prioritizes funding for devices required for a minimum of six months, emphasizing a sustained need, not a temporary condition. Applicants must provide compelling evidence supporting this duration, often through detailed medical documentation.
Healthcare professionals play a key role, outlining the progressive nature of the disability or the expectation of continued functional limitations. Assessment forms should explicitly state the long-term prognosis and how the assistive device will mitigate challenges over an extended period. Vague statements are insufficient; specificity is crucial for a successful application.